

Key Takeaways
- Compost needs a balance of carbon-rich "browns" and nitrogen-rich "greens" to break down effectively.
- Meat, dairy, and oily foods should be kept out of a basic backyard compost pile.
- Moisture and occasional turning are the two most important factors for a working pile.
- Finished compost typically takes two to six months depending on conditions and effort.
- Even small-space gardeners can compost using a compact tumbler or worm bin.
What you will need
Why Composting Is Worth the Effort
Finished compost - sometimes called humus - improves soil structure, feeds beneficial soil microorganisms, helps sandy soils retain moisture, and loosens clay soils so roots can spread more easily. It also reduces the volume of kitchen and yard waste going to landfill, where organic material decomposes without oxygen and generates methane. For home gardeners, it's a practical way to close the loop: scraps from the kitchen become the amendment that feeds the next round of vegetables or flowers.
If you're starting a vegetable garden from scratch, building a compost habit from the beginning means you'll have a steady supply of soil amendment ready each growing season without spending money on bagged products. Compost also pairs well with organic mulches - understanding both helps you manage soil health from the top down. See our guide on choosing the right mulch for your garden for more on layering these strategies.
Compost bin or tumbler
Contains the composting material, retains heat, and keeps pests out more effectively than an open pile.
Garden fork or pitchfork
Used to turn and aerate the pile, which speeds up decomposition.
Kitchen scrap container with lid
Collects food scraps on your counter between trips to the outdoor bin.
Garden hose or watering can
Used to add moisture when the pile becomes too dry.
Thermometer (compost or soil type)
Helps you confirm the pile is reaching the active decomposition temperature range.
What to Add - and What to Leave Out
The most common reason a compost pile stalls or creates problems is the wrong inputs. Here's a quick reference:
| Add freely | Add with caution | Keep out entirely |
|---|---|---|
| Vegetable and fruit scraps | Citrus peels (in moderation) | Meat, fish, bones |
| Coffee grounds and tea bags | Grass clippings (dry first or mix well) | Dairy and oily foods |
| Eggshells | Wood ash (small amounts only) | Pet or human waste |
| Dry leaves and cardboard | Newspaper with colored ink (minimal) | Diseased or pest-infested plants |
| Plant trimmings (healthy) | Hair and nail clippings | Invasive weeds with seeds |
Diseased Plants Can Spread Problems
Avoid adding plants that show signs of disease or fungal infection to your compost pile. Unless a pile reaches consistently high internal temperatures - above 130°F - pathogens may survive and spread when you apply finished compost to your garden. When in doubt, bag diseased material and dispose of it with yard waste collection instead.
Eggshells are a useful addition - they add calcium and help neutralize acidity - but crush them first so they break down faster. Large quantities of grass clippings should be dried or mixed thoroughly with browns to prevent them from matting into an airtight layer that blocks airflow.
How to Follow the Steps and Troubleshoot Common Problems
What you will need
Choose and set up your composting method
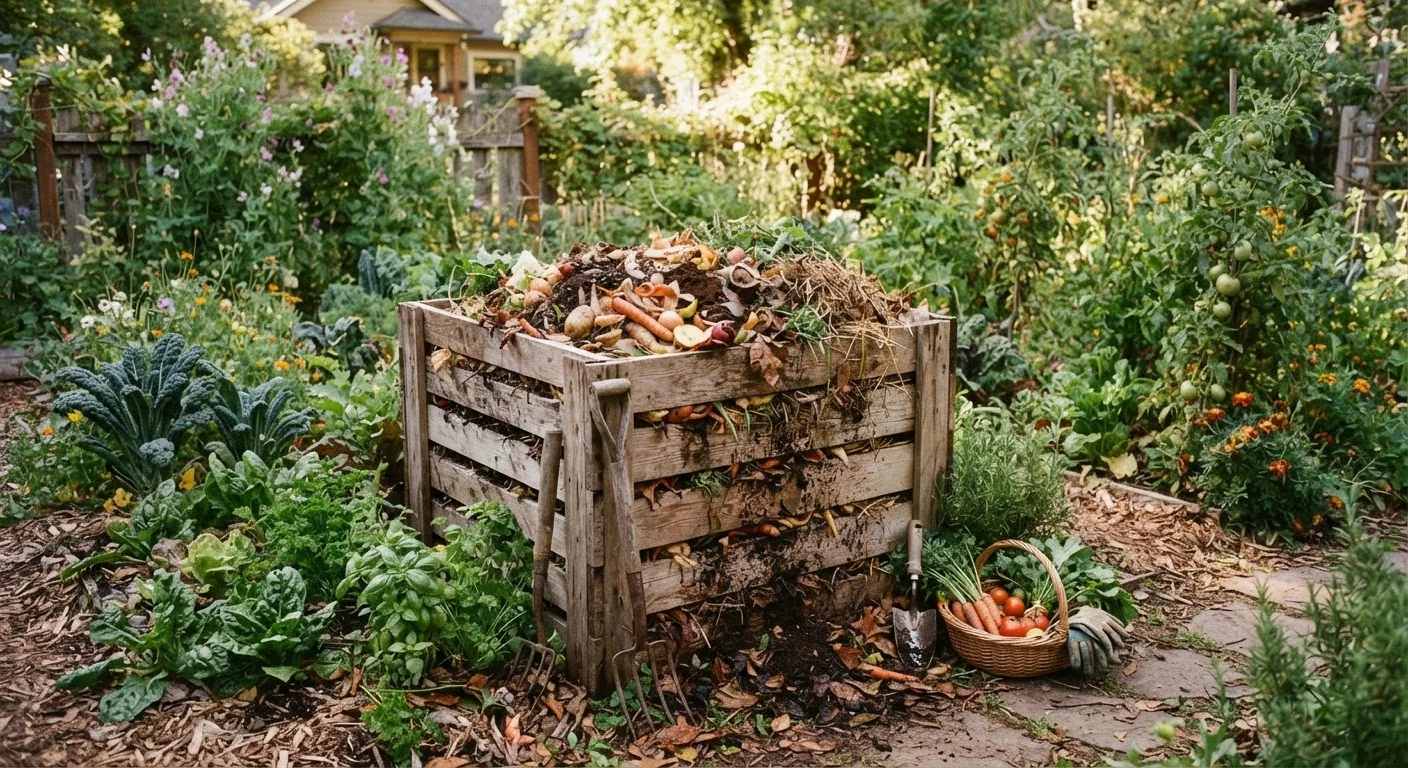
Pick a spot that gets partial shade - full sun dries the pile out too quickly, while deep shade slows decomposition. A backyard corner at least 10 feet from your home's foundation works well for most households. Choose a bin style that fits your space: an open wire or wood frame for larger yards, a closed plastic bin for tidier setups, or a tumbler if you want faster results with less pest risk. If you have no outdoor space at all, a worm bin (vermicomposting) can work indoors or on a balcony.
Gather your "greens" and "browns"
Compost depends on a balance of two types of material:
- Greens (nitrogen-rich): fruit and vegetable scraps, coffee grounds and paper filters, fresh grass clippings, plant trimmings.
- Browns (carbon-rich): dried leaves, cardboard torn into small pieces, paper bags, straw, wood chips.
A good working ratio is roughly two to three parts browns for every one part greens by volume. Too many greens and the pile turns slimy and smells; too many browns and it barely breaks down.
Build your initial pile
Start with a 4- to 6-inch layer of coarse browns like wood chips or straw at the base - this improves airflow. Alternate layers of greens and browns as you add material over the first few days. Lightly moisten each layer as you go; the pile should feel like a wrung-out sponge - damp but not dripping. Aim for a pile at least 3 feet wide and 3 feet tall to generate enough internal heat for active decomposition.
Turn and monitor the pile regularly
Use a garden fork to turn the pile every one to two weeks, moving outer material toward the center. This introduces oxygen, which the microbes driving decomposition need to thrive. After a few days of active decomposition, the interior of the pile should feel noticeably warm - ideally between 130°F and 160°F, though even cooler piles will eventually break down. Check moisture each time you turn: add water if the pile feels dry or crumbly, add more dry browns if it feels soggy.
Recognize and harvest finished compost
Compost is ready when it's dark brown, crumbly, and smells like fresh earth - you should not be able to identify the original materials anymore. This typically takes two to six months with regular turning, or up to a year in a passive pile. To harvest, stop adding new material and allow the pile to finish. Scoop out the dark material at the bottom or center; any unfinished chunks can go back into a new pile. Finished compost can be mixed into garden beds at roughly 2 to 4 inches deep, used as a top-dressing around existing plants, or blended into potting mix.
Small Space? Try Vermicomposting
A worm bin uses red wiggler worms to process food scraps quickly in a compact container that fits under a sink or on a porch. The finished product - worm castings - is an exceptionally rich soil amendment. It's a practical option for apartment dwellers or anyone without yard space. Starter kits are widely available, or you can build a simple bin from a plastic storage tote.
Once you have finished compost on hand, your garden is better positioned to support healthy plant growth with less reliance on synthetic inputs. Healthy soil also supports your broader non-chemical approach to pest management, since vigorous plants growing in biologically active soil tend to resist stress more effectively. Use compost each spring as part of your seasonal garden preparation routine to keep beds productive year after year.