

Key Takeaways
- Most caulk failures trace back to wrong product choice, poor surface prep, or insufficient cure time.
- High-moisture areas like showers and tubs require siliconized or 100% silicone sealants, not basic latex caulk.
- Skipping primer or caulking over existing failed caulk almost always leads to premature re-failure.
- Movement-prone joints - where walls meet floors or fixtures - need flexible sealants, not rigid grout.
- Allowing full cure time before exposing caulk to water is critical and often overlooked by DIYers.
Why Caulk Fails More Often Than It Should
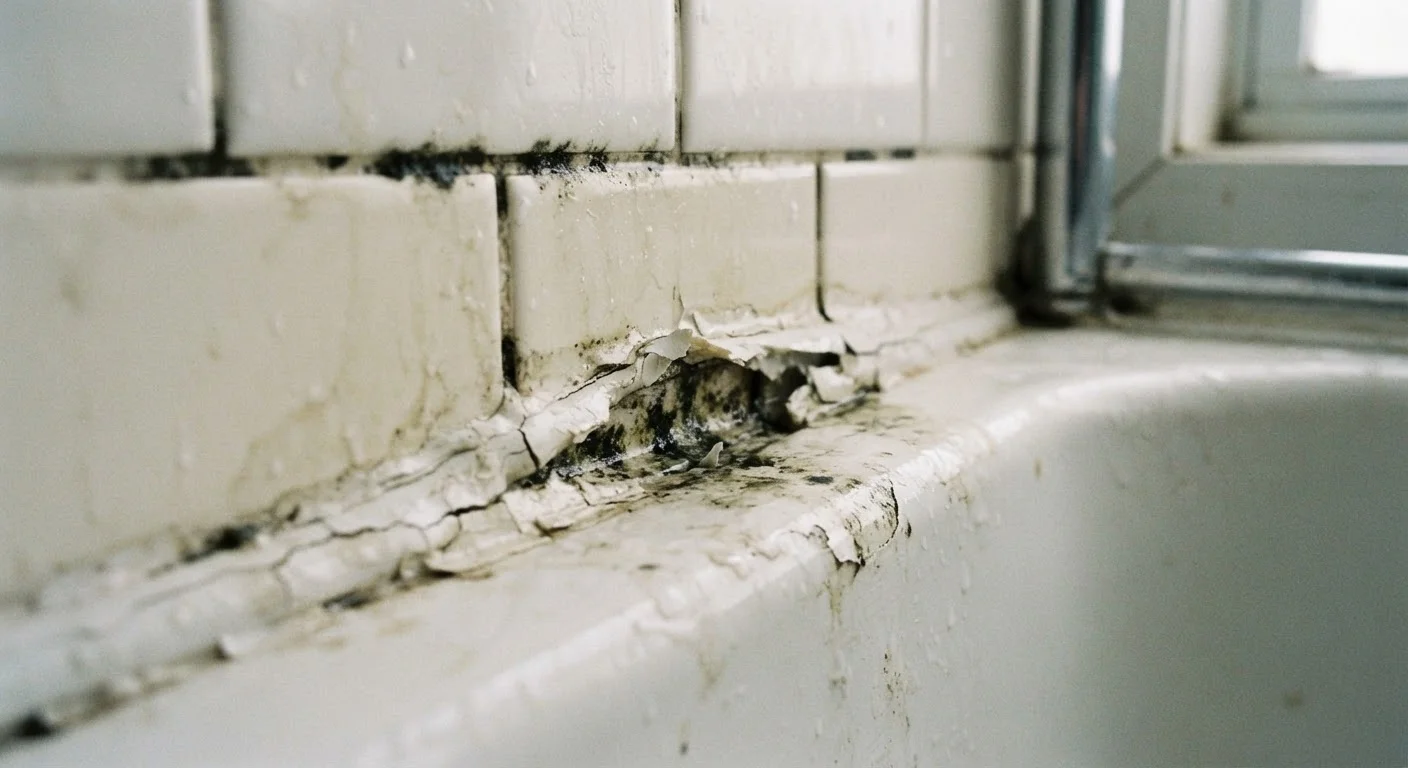
Walk into most bathrooms that are more than a few years old, and you'll find it: caulk that's cracked, pulling away from tile, or discolored with mold. It's so common that many homeowners assume it's simply what caulk does. It isn't. Premature caulk failure is almost always the result of a specific, avoidable mistake - often made before the tube is even opened.
Understanding why caulk fails helps you fix it correctly and choose the right material the first time. High-moisture environments place real stress on sealants: constant temperature swings cause surfaces to expand and contract, water pressure works behind gaps, and soap scum or cleaning products degrade certain formulas. The caulk that works fine around a window trim will often fail quickly in a shower surround.
The mistakes below cover the most common failure points - what triggers them, why they're so easy to make, and how to avoid them. If you've had repeated caulk failures in the same spot, one of these is likely the cause. For related sealing decisions around doors and windows, see our guide on caulk vs. weatherstripping.
Using the wrong type of caulk for the location.
Why it happens: Many homeowners grab a tube labeled 'kitchen and bath' without checking whether it's rated for continuous immersion or high humidity.
Caulking over existing failed or moldy caulk without removing it first.
Why it happens: Removing old caulk is tedious, so it's tempting to simply apply a fresh bead on top. The logic - that more sealant means more protection - is flawed.
Skipping surface preparation - particularly leaving surfaces damp or dirty.
Why it happens: Installers are often eager to finish the job, so surfaces get a quick wipe rather than a thorough cleaning and dry.
Exposing fresh caulk to water before it fully cures.
Why it happens: Cure time information is on the label but rarely read closely. Many products feel dry to the touch within an hour but require 24-48 hours to reach full waterproof strength.
Using grout instead of caulk at movement-prone joints and transitions.
Why it happens: Grout and caulk can look similar when finished, and some installers or DIYers treat corners and field tile the same way.
Choosing the Right Sealant for Wet Zones
Not all caulk is created equal, and the label matters more than most DIYers realize. All-purpose latex or acrylic caulk is water-resistant, not waterproof - a meaningful distinction in a shower that gets used daily. For consistently wet surfaces like tub surrounds, shower pans, and sink-to-countertop seams, a 100% silicone or high-quality siliconized latex formula is the appropriate choice. These products remain flexible after curing, resist mold more effectively, and bond tightly even with repeated water exposure.
~70%
Of bathroom water damage tied to failed seals
Industry estimates suggest the majority of non-plumbing bathroom water intrusion originates from deteriorated or improperly applied caulk and grout joints.
24-48 hrs
Typical cure time for silicone caulk
Most 100% silicone formulas require at least 24 hours - and often up to 48 - before the joint is safe to expose to water, according to standard product guidelines.
Kitchen and bathroom-labeled caulks typically include mildewcides - compounds that inhibit mold growth - but they're not all equivalent. Read the product description to confirm it's rated for continuous water contact, not just occasional moisture. Grout, by contrast, is rigid and should not be used in corners or where two planes meet (for example, where a wall tile meets the tub deck). That joint moves slightly as the structure settles and expands; grout will crack there every time. Flexible sealant is the correct material for those transition zones.
Neglecting small caulk failures may seem low-stakes, but water infiltration behind tile can lead to substrate rot and mold growth that becomes a much larger repair. Our article on the hidden costs of skipping small repairs explains how deferred maintenance compounds over time.
Mold Behind Tile Is a Structural Risk
When sealant fails and water infiltrates behind tile, the damage doesn't stop at the surface. Backer board, wood framing, and subfloor materials can all absorb moisture and develop mold. If you notice soft spots near tile, persistent musty odors, or tile that has begun to loosen, consult a qualified contractor before assuming a simple re-caulk will resolve the issue.