

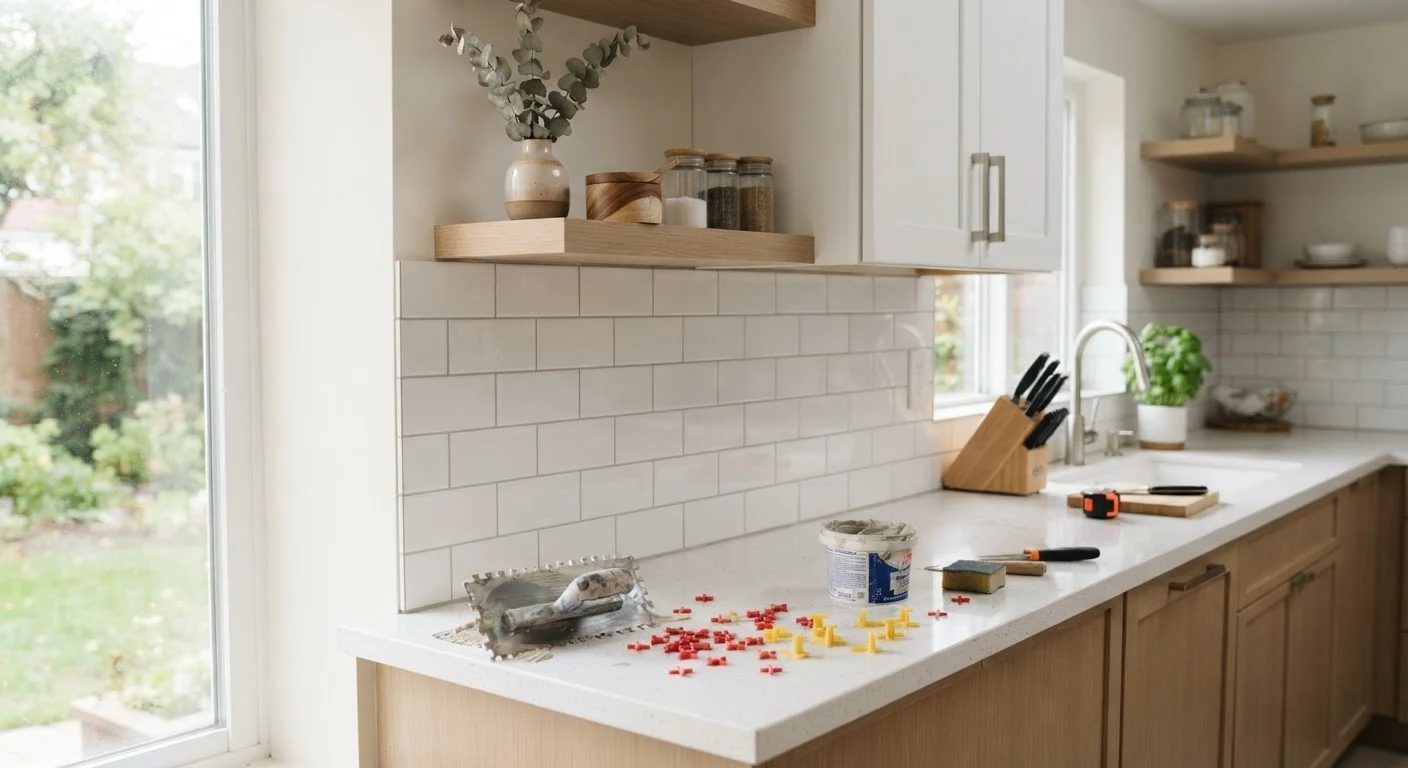
Why Material Choice Determines Your Installation Experience
Picking a backsplash isn't just a style decision - it's a commitment to a specific installation process, skill level, and set of tools. Ceramic and porcelain tile demand a wet saw and mortar; glass tile requires a white-pigmented thinset so the adhesive doesn't bleed through; natural stone needs sealing before and after grouting; peel-and-stick vinyl is essentially a large sticker with real limitations. Understanding what each material asks of you before you purchase a single tile can prevent costly mistakes.
This breakdown covers the four most common backsplash materials found in American homes, walking through what the installation actually involves at each stage - surface prep, adhesive type, cutting method, grouting, and finishing. Think of this as a pre-purchase checklist, not a step-by-step tutorial.
Ceramic and Porcelain Tile
Ceramic is the most forgiving option for first-time tile setters. The material cuts cleanly with a manual tile cutter or a wet saw, and it bonds reliably to a properly prepped drywall, cement board, or existing tile surface. Porcelain is denser and slightly harder to cut but shares most of the same installation principles.
Key installation factors
- Surface prep: Walls must be clean, flat, and structurally sound. Greenboard (moisture-resistant drywall) or cement board is recommended behind ceramic in wet zones like over a sink.
- Adhesive: Standard gray thinset mortar works for most ceramic applications. Use a notched trowel to comb even ridges for full coverage behind each tile.
- Cutting: A wet saw gives clean cuts around outlets and corners. A manual snap cutter works for straight cuts only.
- Grouting: Unsanded grout for joints under 1/8 inch; sanded grout for wider joints. Apply sealer to grout lines after curing (typically 48-72 hours).
Ceramic's durability and heat resistance make it one of the most practical choices for the area behind a range or cooktop.
Glass Tile
Glass tile is prized for its light-reflective quality, but it punishes shortcuts. The material is brittle, translucent, and far less forgiving than ceramic during both cutting and grouting.
Glass Tile: Handle With Care
Glass tile chips more easily than ceramic during cutting, and the translucency means adhesive color visibly affects the finished look. Always test a cut on a scrap piece before committing to your full layout. If you're purchasing glass tile in a mesh-backed sheet format, use the same white thinset and spread it carefully to achieve full coverage behind each individual tile.
Key installation factors
- Surface prep: Glass will telegraph any surface imperfection. Walls must be especially flat and free of old adhesive ridges.
- Adhesive: Use a white, polymer-modified thinset specifically. Gray thinset shows through clear and light-colored glass tiles and will ruin the finished appearance.
- Cutting: A wet saw fitted with a diamond blade designed for glass is essential. Score-and-snap tools cause chipping. Cut slowly and keep the blade wet throughout.
- Grouting: Non-sanded grout is standard. Clean the tile face quickly - grout haze is harder to remove from glass than from ceramic. Some installers apply painter's tape to tile faces before grouting to make cleanup easier.
Glass tile is generally not recommended as a beginner's first project, but it is manageable for homeowners who have successfully installed ceramic and are comfortable with a wet saw.
Natural Stone Tile
Marble, travertine, slate, and other natural stone tiles bring genuine character but require the most preparation and ongoing maintenance of any backsplash material. Stone is porous, meaning liquids - including grout - will stain it without proper sealing.
Key installation factors
- Surface prep: Cement board backing is strongly preferred over drywall, especially near a sink or dishwasher. Stone is heavy; verify that your wall can support the added weight over large spans.
- Adhesive: White thinset mortar is again the safer choice - gray can discolor light-colored marble and limestone from behind over time.
- Cutting: A wet saw with a continuous-rim diamond blade produces the cleanest cuts. Natural variation in stone density can cause chipping, so score slowly.
- Sealing: Apply a penetrating stone sealer before grouting to prevent the grout from staining the tile face, and again after grout has fully cured. Resealing annually is typically recommended for kitchen use.
- Grouting: Unsanded or epoxy grout for tight joints. Avoid acidic grout cleaners - they etch stone surfaces.
Natural stone adds visual warmth that manufactured tiles often can't replicate, but budget for sealer, specialty blades, and additional prep time when planning your project.
Peel-and-Stick Tile
Peel-and-stick backsplash panels - sold in vinyl, gel, and thin stone veneer versions - are marketed as a tool-free weekend project. That framing is accurate for the installation itself, but there are real limitations worth understanding.
Key installation factors
- Surface prep: This is the most critical step. The adhesive backing requires a clean, smooth, non-porous surface - painted drywall works; textured walls, fresh paint (under 30 days old), and surfaces with grease residue do not bond reliably.
- No mortar or grout: Panels go up with pressure and a utility knife for trimming. No wet tools required.
- Heat and moisture sensitivity: Vinyl peel-and-stick tiles are not suited for the area directly behind a high-heat cooktop. Prolonged exposure to steam or grease can cause edges to lift.
- Longevity: Peel-and-stick options are widely considered a temporary or rental-appropriate solution, not a permanent upgrade. Adhesive can fail over several years, and replacement is the most common fix.
For renters or homeowners testing a color palette before a permanent installation, peel-and-stick serves a real purpose. For a long-term kitchen renovation, the other materials offer more durability. Just as flooring decisions involve weighing durability against installation complexity - a trade-off explored in our comparison of hardwood, engineered wood, and laminate - backsplash choices follow the same logic.
Permits, Safety, and When to Call a Pro
Backsplash installation generally does not require a permit in most U.S. jurisdictions because it is a cosmetic surface treatment rather than a structural or mechanical change. However, if your project involves relocating an electrical outlet, extending tile behind a range hood, or any work near gas lines, those elements typically do require licensed professional work and may need inspection. Always verify local code requirements with your municipality before starting.
For DIYers, the primary safety concerns are cutting-related: wet saws generate spray, and tile shards are sharp. Wear safety glasses and gloves during any cutting work. When working near electrical outlets, turn off the relevant circuit breaker - even if you're only tiling around the box, not inside it.
If your walls have significant moisture damage, mold, or an uneven surface that requires substantial repair before tiling, a licensed contractor can assess whether the substrate needs replacement rather than patching. Starting tile over a compromised wall is one of the most common reasons DIY backsplash projects require expensive redos.