

| Number of warning lights in a modern vehicle | Up to 200+ possible indicators (Varies by manufacturer and model year) |
| Color indicating stop immediately | Red (Industry-standard dashboard color coding) |
| Color indicating caution or service needed | Amber / Yellow (Industry-standard dashboard color coding) |
| Standardized since | 1996 (OBD-II mandate) (U.S. Environmental Protection Agency requirement) |
| First step when a light appears | Consult your owner's manual (Manufacturer guidance) |
How the Color System Works
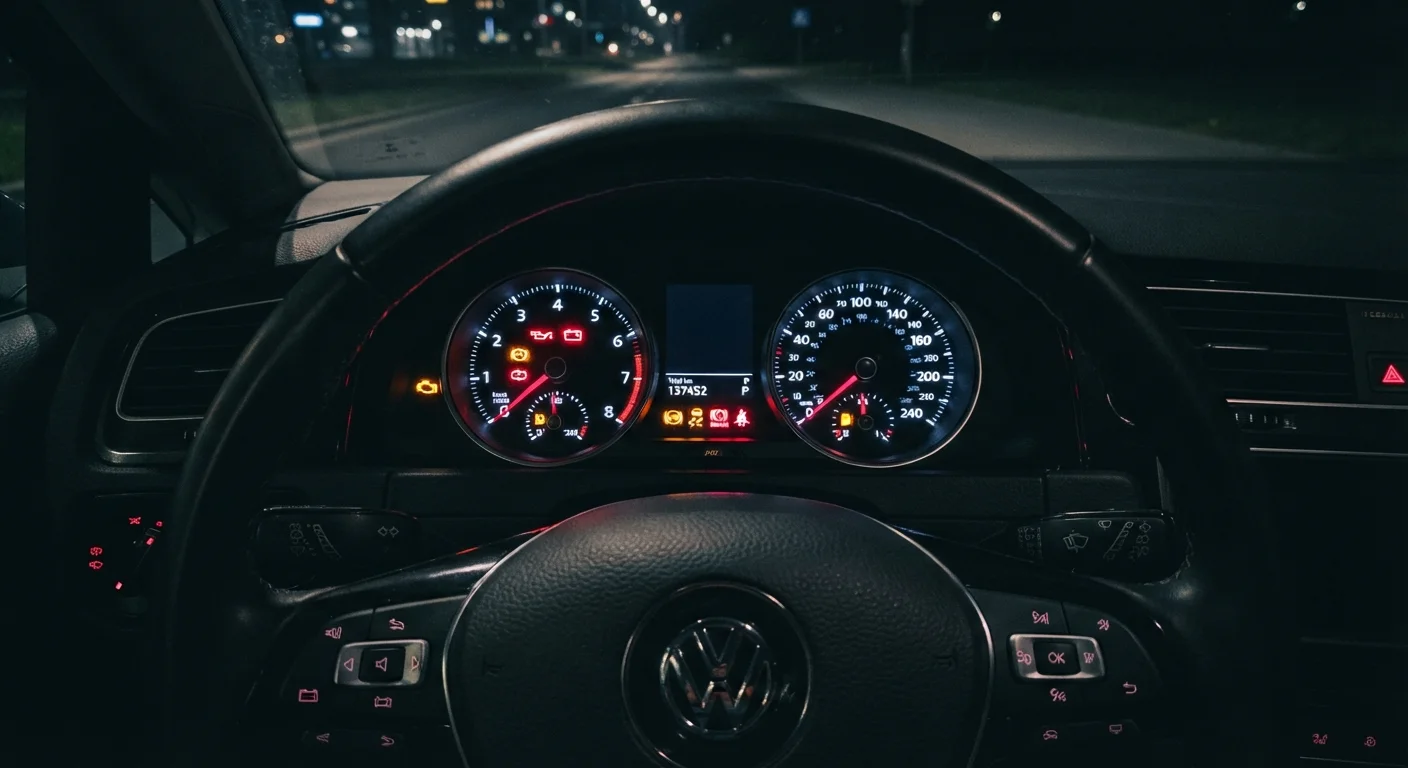
Modern dashboards use a traffic-light color logic that communicates urgency at a glance. Understanding this system is the single most useful thing an everyday driver can know about warning lights.
- Red: Stop driving as soon as it is safe to do so. A red light signals a condition that can cause immediate engine or brake system damage - or is a direct safety hazard.
- Amber or Yellow: Attention required, but not necessarily right now. These lights flag something that needs investigation at your next service appointment or soon, not mid-trip.
- Green or Blue: Informational only. A green light typically confirms a system is active (e.g., turn signal, high beams). No action needed.
Color alone narrows the urgency. The symbol tells you which system is involved. Together, they give you everything you need to decide what to do next.
| Number of warning lights in a modern vehicle | Up to 200+ possible indicators (Varies by manufacturer and model year) |
| Color indicating stop immediately | Red (Industry-standard dashboard color coding) |
| Color indicating caution or service needed | Amber / Yellow (Industry-standard dashboard color coding) |
| Standardized since | 1996 (OBD-II mandate) (U.S. Environmental Protection Agency requirement) |
| First step when a light appears | Consult your owner's manual (Manufacturer guidance) |
Red Lights: Act Immediately
If any of the following illuminate while driving, pull over safely and turn off the engine. Continuing to drive risks serious mechanical damage or an unsafe situation.
- Engine Temperature (Thermometer in Coolant)
- Your engine is overheating. Shut off the engine and let it cool before opening the hood. Driving further can warp cylinder heads - a repair that runs into thousands of dollars.
- Oil Pressure Warning (Oil Can Symbol)
- Not to be confused with the oil level indicator, this light means oil is not circulating at sufficient pressure. Continued operation can destroy engine bearings within minutes. Stop immediately.
- Battery / Charging System
- The alternator may not be charging the battery. The vehicle could lose power to critical systems within minutes. Reduce electrical load and drive directly to a shop if it is very close; otherwise, pull over and call for assistance.
- Brake System Warning
- If this appears with the parking brake fully released, it may indicate low brake fluid or a hydraulic fault. Brake performance could be compromised - stop safely and have the system inspected before driving further.
Pair your awareness of warning lights with a pre-trip safety walk-around to catch potential issues before they escalate on the road.
Amber Lights: Schedule Service Soon
These lights indicate a fault that warrants professional attention within days to a few weeks, not immediate stoppage. Ignoring them long-term can lead to bigger problems or failed emissions tests.
- Check Engine / MIL
- The most misunderstood light on any dashboard. It means the OBD-II system has stored a fault code - the underlying cause ranges from a loose gas cap to a failing catalytic converter. A steady light can usually wait; a flashing check engine light means active misfiring that can damage the catalytic converter and should be addressed promptly.
- TPMS (Tire Pressure)
- One or more tires is significantly underinflated. Check pressures manually at a gas station - sensors can lag, and a nail may have caused a slow leak. Underinflated tires affect handling and fuel economy.
- ABS Warning
- Normal braking still works, but the anti-lock function may be disabled. Avoid hard, emergency-stop situations and have the system diagnosed soon.
- Traction Control / Stability Control
- If this is flashing, the system is actively working - that is normal on slippery surfaces. If it stays on steadily, the system may be disabled or faulted.
- Service Engine / Wrench Symbol
- A scheduled maintenance interval has been reached (often oil change or inspection). This is a reminder, not an emergency.
MIL (Malfunction Indicator Lamp)
The official name for the check engine light. It signals that the vehicle's onboard diagnostic system has detected a fault code in one or more monitored systems.
OBD-II
On-Board Diagnostics, second generation. A standardized system built into most vehicles sold in the U.S. after 1996 that monitors engine and emissions performance and stores fault codes.
DTC (Diagnostic Trouble Code)
A alphanumeric code stored by the OBD-II system when a fault is detected. A mechanic or scan tool reads these codes to identify the source of a warning light.
TPMS (Tire Pressure Monitoring System)
A sensor-based system that alerts drivers when one or more tires fall significantly below the recommended inflation pressure.
ABS (Anti-lock Braking System)
A safety system that prevents wheels from locking during hard braking, helping the driver maintain steering control. When the ABS light is on, this function may be unavailable.
Coolant Temperature
A measure of the liquid circulating through the engine to absorb heat. Overheating occurs when this temperature exceeds safe operating limits, risking serious engine damage.
If you hear unusual sounds alongside any amber light, consult our guide to what car noises are trying to tell you - the combination often narrows the diagnosis considerably.
Your Owner's Manual Is the Definitive Source
Warning light symbols and their meanings can vary between manufacturers and even between model years of the same vehicle. While this guide covers widely used conventions, always cross-reference with your owner's manual for vehicle-specific guidance. See how to use your owner's manual effectively for a practical walkthrough.