

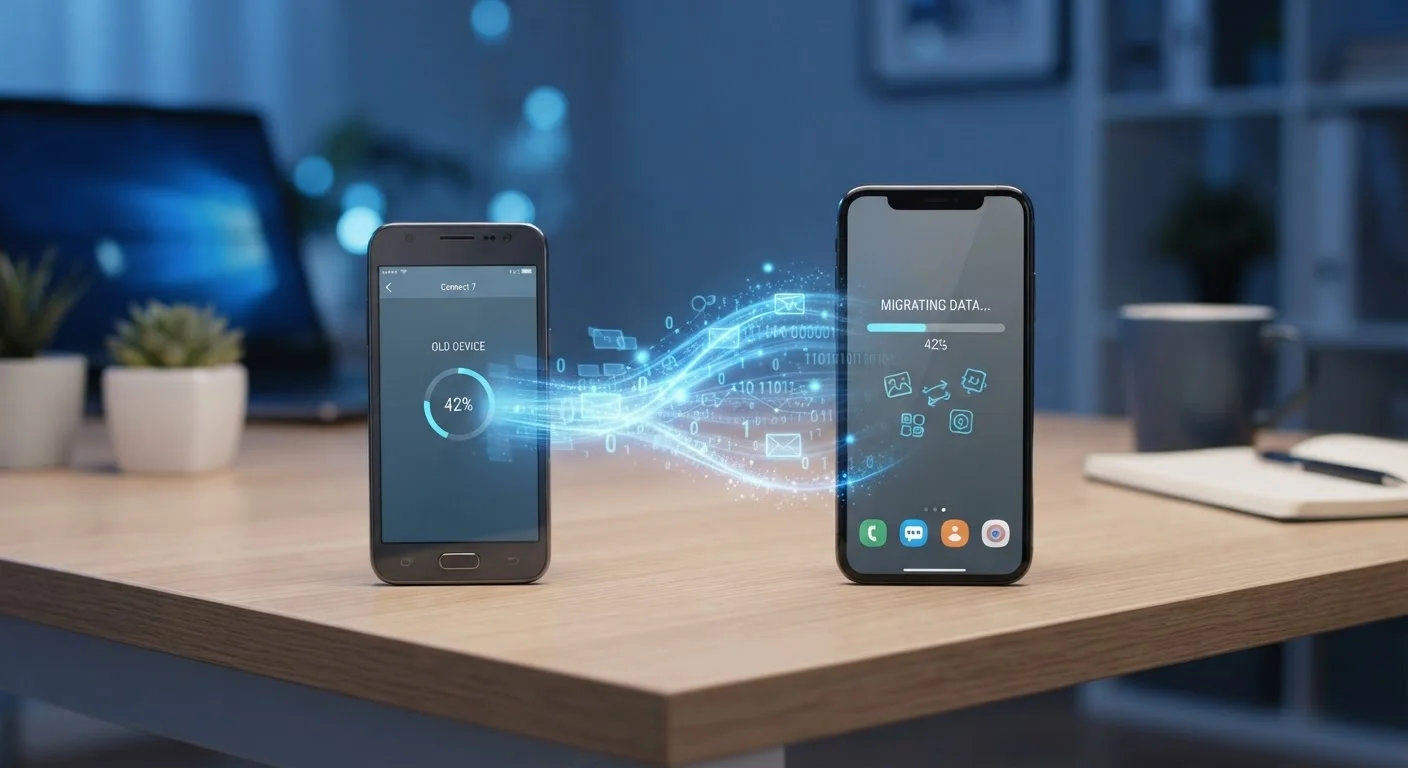
Key Takeaways
- Back up your old phone to the cloud or a computer before doing anything else.
- Contacts, photos, and app data transfer differently - know which method covers what.
- SIM card type (physical vs. eSIM) affects how you activate your new device.
- Some data, like app-specific progress or SMS on certain platforms, may not transfer automatically.
- Verify your new phone is working fully before wiping or trading in your old one.
What you will need
What Actually Transfers - and What Doesn't
Modern smartphones have made data migration significantly easier than it was even five years ago, but no method transfers everything automatically. Understanding the landscape helps you avoid unpleasant surprises.
What typically transfers well: contacts synced to your Google or Apple account, photos and videos stored in the cloud, app lists, Wi-Fi passwords, and general device settings.
What may not transfer automatically: SMS text history (especially when moving between Android and iPhone), app-specific data stored only on the device, downloaded offline content (music, podcasts, maps), and - critically - two-factor authentication codes.
Switching between platforms (Android to iPhone or vice versa) requires extra steps. Apple's Move to iOS app helps Android users migrate to iPhone, while Google's setup wizard handles the reverse. Neither method is perfect, and some data categories will need to be handled manually.
Use Wi-Fi for Faster, Cheaper Transfers
Cloud backups and device-to-device transfers can consume several gigabytes of data. Always connect both phones to a reliable Wi-Fi network before starting a migration to avoid burning through your mobile data allowance and to speed up the process significantly.
If you're also evaluating a new phone contract as part of this upgrade, check these key contract details before you commit to a carrier deal.
Step-by-Step: Migrating Your Data Safely
What you will need
Cloud Backup Service (Google One or iCloud)
Creates a complete backup of your phone's data - contacts, photos, settings, and app data - that can be restored on the new device.
USB Cable or Wireless Transfer App
Enables direct device-to-device data transfer without relying on cloud storage, useful when backup space is limited.
Computer (Mac or PC)
Allows local backups via iTunes (for iPhone) or file management software, providing an offline safety net.
SIM Ejector Tool or Small Paperclip
Required to remove a physical SIM card from your old phone and insert it into the new one, if applicable.
Back Up Your Old Phone Completely
Before you touch your new device, create a full backup of your old phone. On Android, go to Settings → Google → Backup and tap Back up now. On iPhone, go to Settings → [your name] → iCloud → iCloud Backup and tap Back up now. Wait for the backup to complete - you'll see a timestamp confirming it finished.
For extra security, you can also back up locally: iPhone users can use a Mac (Finder) or PC (iTunes), while Android users can copy photos and files directly to a computer via USB.
Transfer Your SIM or Set Up eSIM
Your phone number travels with your SIM card. If your new phone uses the same SIM size as your old one, simply move the physical card over using the ejector tool. If the sizes differ, contact your carrier for a free SIM swap.
Many newer phones support eSIM - a digital SIM built into the phone that your carrier activates remotely. If your carrier and new device both support eSIM, you may be able to transfer your number through the carrier's app or by scanning a QR code, with no physical card needed. See how eSIM and physical SIM compare to determine which option applies to your situation.
Run the New Phone's Setup Wizard
Power on your new phone and follow the on-screen setup wizard. Both Android and iPhone offer a data migration option early in setup - don't skip it. Android devices offer Google's device-to-device transfer or restoration from a Google backup. iPhones offer Quick Start (wireless transfer between two iPhones) or restoration from an iCloud or local backup.
Choose the method that matches how you backed up in Step 1. Have your Google or Apple ID login ready - you'll need it to authenticate and begin the restore process.
Verify Contacts, Photos, and Apps
Once the transfer completes, manually check the three categories most users care about most:
- Contacts: Open the Contacts app and scroll through to confirm key entries transferred correctly.
- Photos: Open the Photos or Gallery app and spot-check recent images and older albums.
- Apps: Most apps reinstall automatically, but app-specific data (saved game progress, offline downloads, stored passwords) may need to be re-synced or re-downloaded within each app.
Log back into streaming services, email accounts, and any apps that require separate credentials.
Migrate Two-Factor Authentication Apps
This step trips up many users. Apps like Google Authenticator, Microsoft Authenticator, or Authy store login codes tied to your accounts. Most have a dedicated transfer or export feature in their settings - use it to move your codes to the new phone before deactivating the old one.
After migrating, test a login on two or three important accounts (email, bank, social media) using the new phone's authenticator to confirm the codes work correctly.
[warning_callout]Confirm Everything Works, Then Safely Retire the Old Phone
Spend a full day using your new phone normally before doing anything permanent to the old one. Make a call, send texts, use your banking app, and test any apps you use regularly. Once you're confident nothing is missing, you can factory reset your old phone to protect your personal data before trading it in or recycling it.
Go to Settings → General → Transfer or Reset iPhone → Erase All Content on iPhone, or Settings → General Management → Reset → Factory Data Reset on Android.
If you're also switching carriers at the same time, porting your number to a new carrier is a separate process - handle data migration first, then initiate the port.
Don't Wipe Your Old Phone Yet
Many people factory-reset their old device the moment the new one powers on - and then discover missing photos, lost authenticator app codes, or absent text threads. Keep your old phone active and accessible until you've confirmed every category of data has successfully migrated to the new device.
For a broader look at how mobile plans and devices work together, the Phones & Plans hub covers everything from data types to carrier terms in plain language.