

Key Takeaways
- Complete a walk-through both at move-in and move-out to document the unit's exact condition.
- Photograph every room thoroughly and share copies with your landlord in writing.
- Pre-existing damage you fail to report can be deducted from your security deposit.
- Test every appliance, fixture, and lock - not just the cosmetic surfaces.
- Your landlord's signature on a move-in checklist creates a shared record that protects both parties.
Summary
24 items · 30-60 minutes
Why the Walk-Through Matters
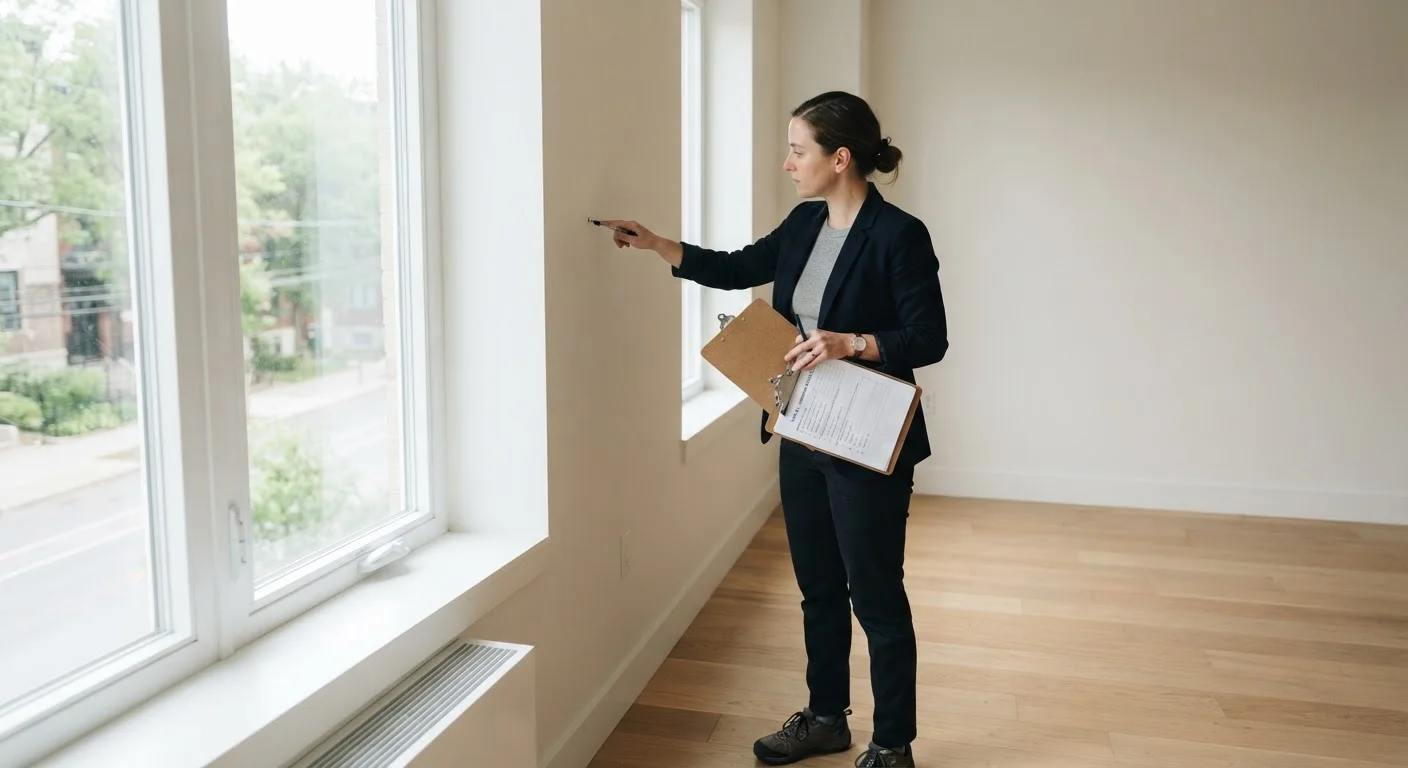
The apartment walk-through is one of the most consequential - and most skipped - steps in the rental process. Whether you are moving in or preparing to leave, a documented inspection creates a clear record of the unit's condition at a specific point in time. That record is often the deciding factor in whether your security deposit is returned in full.
Disputes over deposits are among the most common landlord-tenant conflicts in the United States. Many stem from a simple disagreement: the landlord says damage existed when you moved out; you say it was there when you moved in. Without a signed, dated checklist and photographs, proving your case is difficult. This guide gives you a room-by-room framework to make that documentation airtight.
For a broader look at how deposits work - including state-by-state limits on what landlords can charge - see our article on security deposit rules every renter should know. And if you are still early in the rental process, renting an apartment from start to move-in covers the full journey from search to key handover.
Document Everything Before You Sign
Do not sign a lease or accept keys until you have completed the walk-through and the landlord has countersigned your checklist. Once you take possession of a unit, proving that damage was pre-existing becomes significantly harder. Any issue you discover after signing - but did not document - may be treated as damage you caused.
What to Bring to the Walk-Through
Arriving prepared makes the inspection faster and more reliable. Gather everything below before you meet your landlord or property manager at the unit.
Smartphone with camera
Photograph every room and defect with date and time stamps as timestamped evidence.
Printed or digital walk-through checklist
Provides a structured room-by-room record you and the landlord can both sign.
Small plug-in device or phone charger
Quickly test whether each electrical outlet is live and functional.
Flashlight
Illuminate dark corners, inside closets, and under sinks where damage hides.
Email or cloud storage account
Send copies of the signed checklist and all photos to yourself and the landlord immediately after the inspection.
The Room-by-Room Checklist
Work through each area of the apartment systematically. For every item you flag, note the location, describe the issue briefly, and take a close-up photograph with your phone's timestamp enabled. Do not rely on memory.
Before You Step Inside
Walls, Floors, and Ceilings
Kitchen
Bathrooms
Electrical and Safety Systems
Locks, Security, and Final Steps
Never Skip the Move-Out Walk-Through
A move-out inspection is just as important as the move-in inspection. Request a joint walk-through with your landlord before you hand over the keys. If your landlord declines, conduct your own inspection, photograph everything, and send the images by email immediately. State laws on deposit return timelines and allowable deductions vary - confirm the rules that apply to you before your lease ends.
Once you have completed the inspection, both you and the landlord should sign and date the checklist. Keep a copy - emailed or photographed - for your own records. This same document becomes your reference point when you move out. For guidance on cleaning standards and notice periods at move-out, see moving out without losing your deposit.