

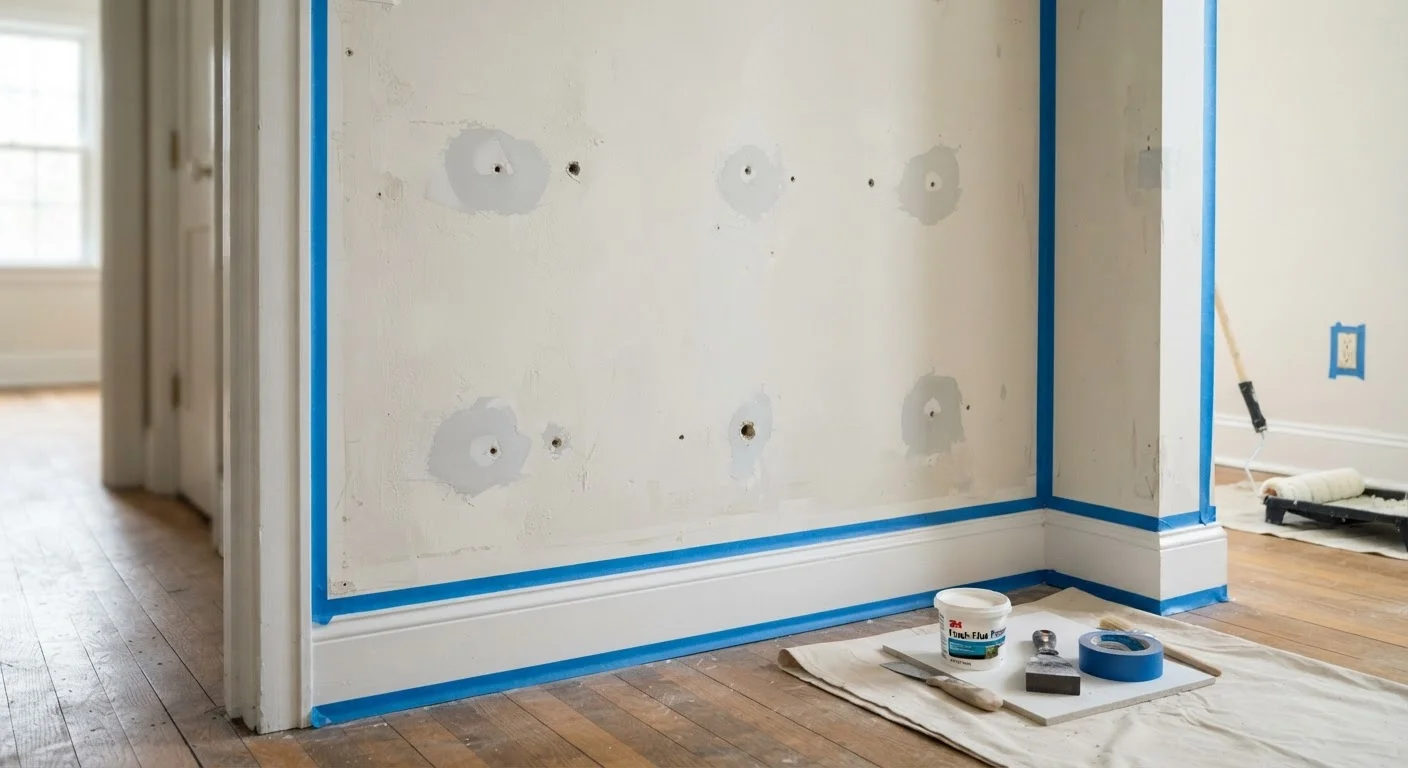
Key Takeaways
- Surface prep - not the paint itself - determines how long and how well a paint job holds up.
- Skipping steps like cleaning, patching, or priming leads to peeling, uneven sheen, and visible imperfections.
- Proper prep takes two to four hours for an average room before the first drop of paint is applied.
- Primer is not optional when painting over repairs, dark colors, or bare drywall.
- Sanding between coats of joint compound produces the smooth finish that makes paint look professional.
What you will need
Why Surface Prep Makes or Breaks a Paint Job
Most people underestimate how much of a paint job's quality is determined before the roller ever touches the wall. Paint is a coating - it conforms to and magnifies every surface irregularity beneath it. A shiny new color won't hide dust, grease, cracks, or poorly feathered patches. It will highlight them, especially in rooms with raking light from windows.
The good news is that proper prep isn't complicated - it's just methodical. Taking the time to work through each stage in order pays off in a finish that looks cleaner, adheres better, and lasts years longer than a rushed job. If you're planning a larger renovation involving multiple rooms, the same principle applies - see our pre-renovation checklist for how to coordinate prep work across a full project before work begins.
What you will need
Tools and Materials You'll Need
Gathering your supplies before you start prevents mid-task interruptions that break your workflow and can lead to mistakes like a half-wet patch drying unevenly.
Spackle or lightweight joint compound
Fills nail holes, small dents, and hairline cracks before painting.
Putty knife (4-inch and 6-inch)
Applies and feathers joint compound over repairs for a smooth, gradual edge.
Sandpaper (120-grit and 220-grit) or sanding sponges
Smooths repaired areas and scuffs glossy surfaces so primer and paint can adhere.
TSP substitute or mild degreaser
Cleans grease, dust, and residue from walls before any coating is applied.
Primer (drywall or all-purpose)
Seals repaired spots and bare surfaces so topcoat adheres evenly and sheen is consistent.
Painter's tape (1.5-inch)
Masks trim, ceilings, and outlets to produce clean paint lines.
Drop cloths
Protects floors and furniture from dust, compound, and paint drips during prep and painting.
Bright work light or flashlight
Raking light across the wall surface reveals imperfections invisible under overhead lighting.
Step-by-Step Wall Preparation
Follow these steps in order. Skipping ahead - particularly skipping the cleaning and priming stages - is where most DIY paint jobs go wrong.
Inspect the walls under raking light
Before touching anything, hold a bright flashlight or portable work light close to and parallel with each wall surface. This raking light technique casts shadows that reveal dents, nail pops, hairline cracks, and old texture inconsistencies that flat overhead lighting hides. Mark each problem area with a small piece of painter's tape so nothing is missed.
Clean the walls thoroughly
Mix a TSP substitute or mild degreaser solution according to package directions. Using a wrung-out sponge, wash the walls from top to bottom in overlapping horizontal strokes. Pay special attention to areas near the stove, above light switches, and around door handles where grease and oils accumulate. Rinse with clean water and allow the walls to dry completely - typically one to two hours - before proceeding.
Fill holes, cracks, and nail pops
Apply lightweight joint compound to all marked defects using a 4-inch putty knife. For nail pops - nails that have pushed slightly through the drywall surface - drive a new drywall screw about two inches above and below the popped nail to re-secure the drywall, then dimple (slightly countersink) the popped nail before patching. Apply compound in thin layers; thick applications crack as they dry. For cracks, press compound firmly into the void and smooth flush with the surrounding surface.
Sand repairs smooth and feather the edges
Once compound is completely dry (white throughout, not gray or translucent), sand each repair starting with 120-grit sandpaper to knock down high spots, then finishing with 220-grit for a smooth surface. Use a light circular motion and blend the edges outward in all directions so the patch transitions gradually into the surrounding wall. After sanding, wipe the entire wall with a lightly damp cloth or tack cloth to remove all dust.
Apply painter's tape to trim and edges
Run painter's tape along baseboards, door and window casing, ceiling lines, and any outlet or switch edges. Press the tape edge firmly with a putty knife or your fingernail to prevent paint from bleeding underneath. Work in longer strips rather than many short pieces to reduce gap risk.
Prime repaired areas and any bare surfaces
Apply a coat of primer to all sanded repairs, any bare drywall, and any areas where you've removed old wallpaper. If you're making a significant color change (especially going lighter over a dark existing color), prime the entire wall. Use a brush to cut in around edges first, then a short-nap roller to cover larger areas. Allow primer to dry fully per manufacturer guidance - typically one to two hours - before applying your topcoat.
Don't Paint Over Mold or Water Stains
If you discover dark staining that looks circular or follows moisture patterns, stop and investigate the source before painting. Painting over active mold or an unresolved moisture leak will not solve the problem - it will trap it. Address the moisture source first, treat affected surfaces with an appropriate mold-killing primer formulated for the purpose, and allow everything to fully dry. For significant mold coverage - generally defined as areas larger than ten square feet - consult a professional remediation contractor rather than attempting DIY treatment.
Common Mistakes and How to Avoid Them
Even experienced DIYers fall into a few predictable traps during prep. Knowing what to watch for helps you course-correct before it costs extra time or materials.
- Painting over dirty walls: Grease and residue from cooking or hands prevent paint from bonding. Walls in kitchens and near door handles need a degreasing wash even if they look clean.
- Skipping primer on repairs: Joint compound - the material used to fill holes and cracks - is highly porous. Paint applied directly over it dries flat and dull in those spots, creating visible patches called flashing. A coat of primer seals the compound so the topcoat dries evenly.
- Not feathering patch edges: When sanding a patched area, blend the edges gradually outward in all directions so there's no ridge where compound meets wall. A 6-inch feathered transition is nearly invisible once painted.
- Rushing drying times: Joint compound must be fully dry - white all the way through, not just on the surface - before sanding. Sanding damp compound clogs sandpaper and tears the repair. Most repairs need at least 24 hours, longer in humid conditions.